Posted on Leave a comment

Finding the Best 1911 Grips

Choosing the best 1911 grips is a matter of personal preference, as it depends on factors such as comfort, aesthetics, material, and functionality. Here are some considerations to help you make an informed decision:

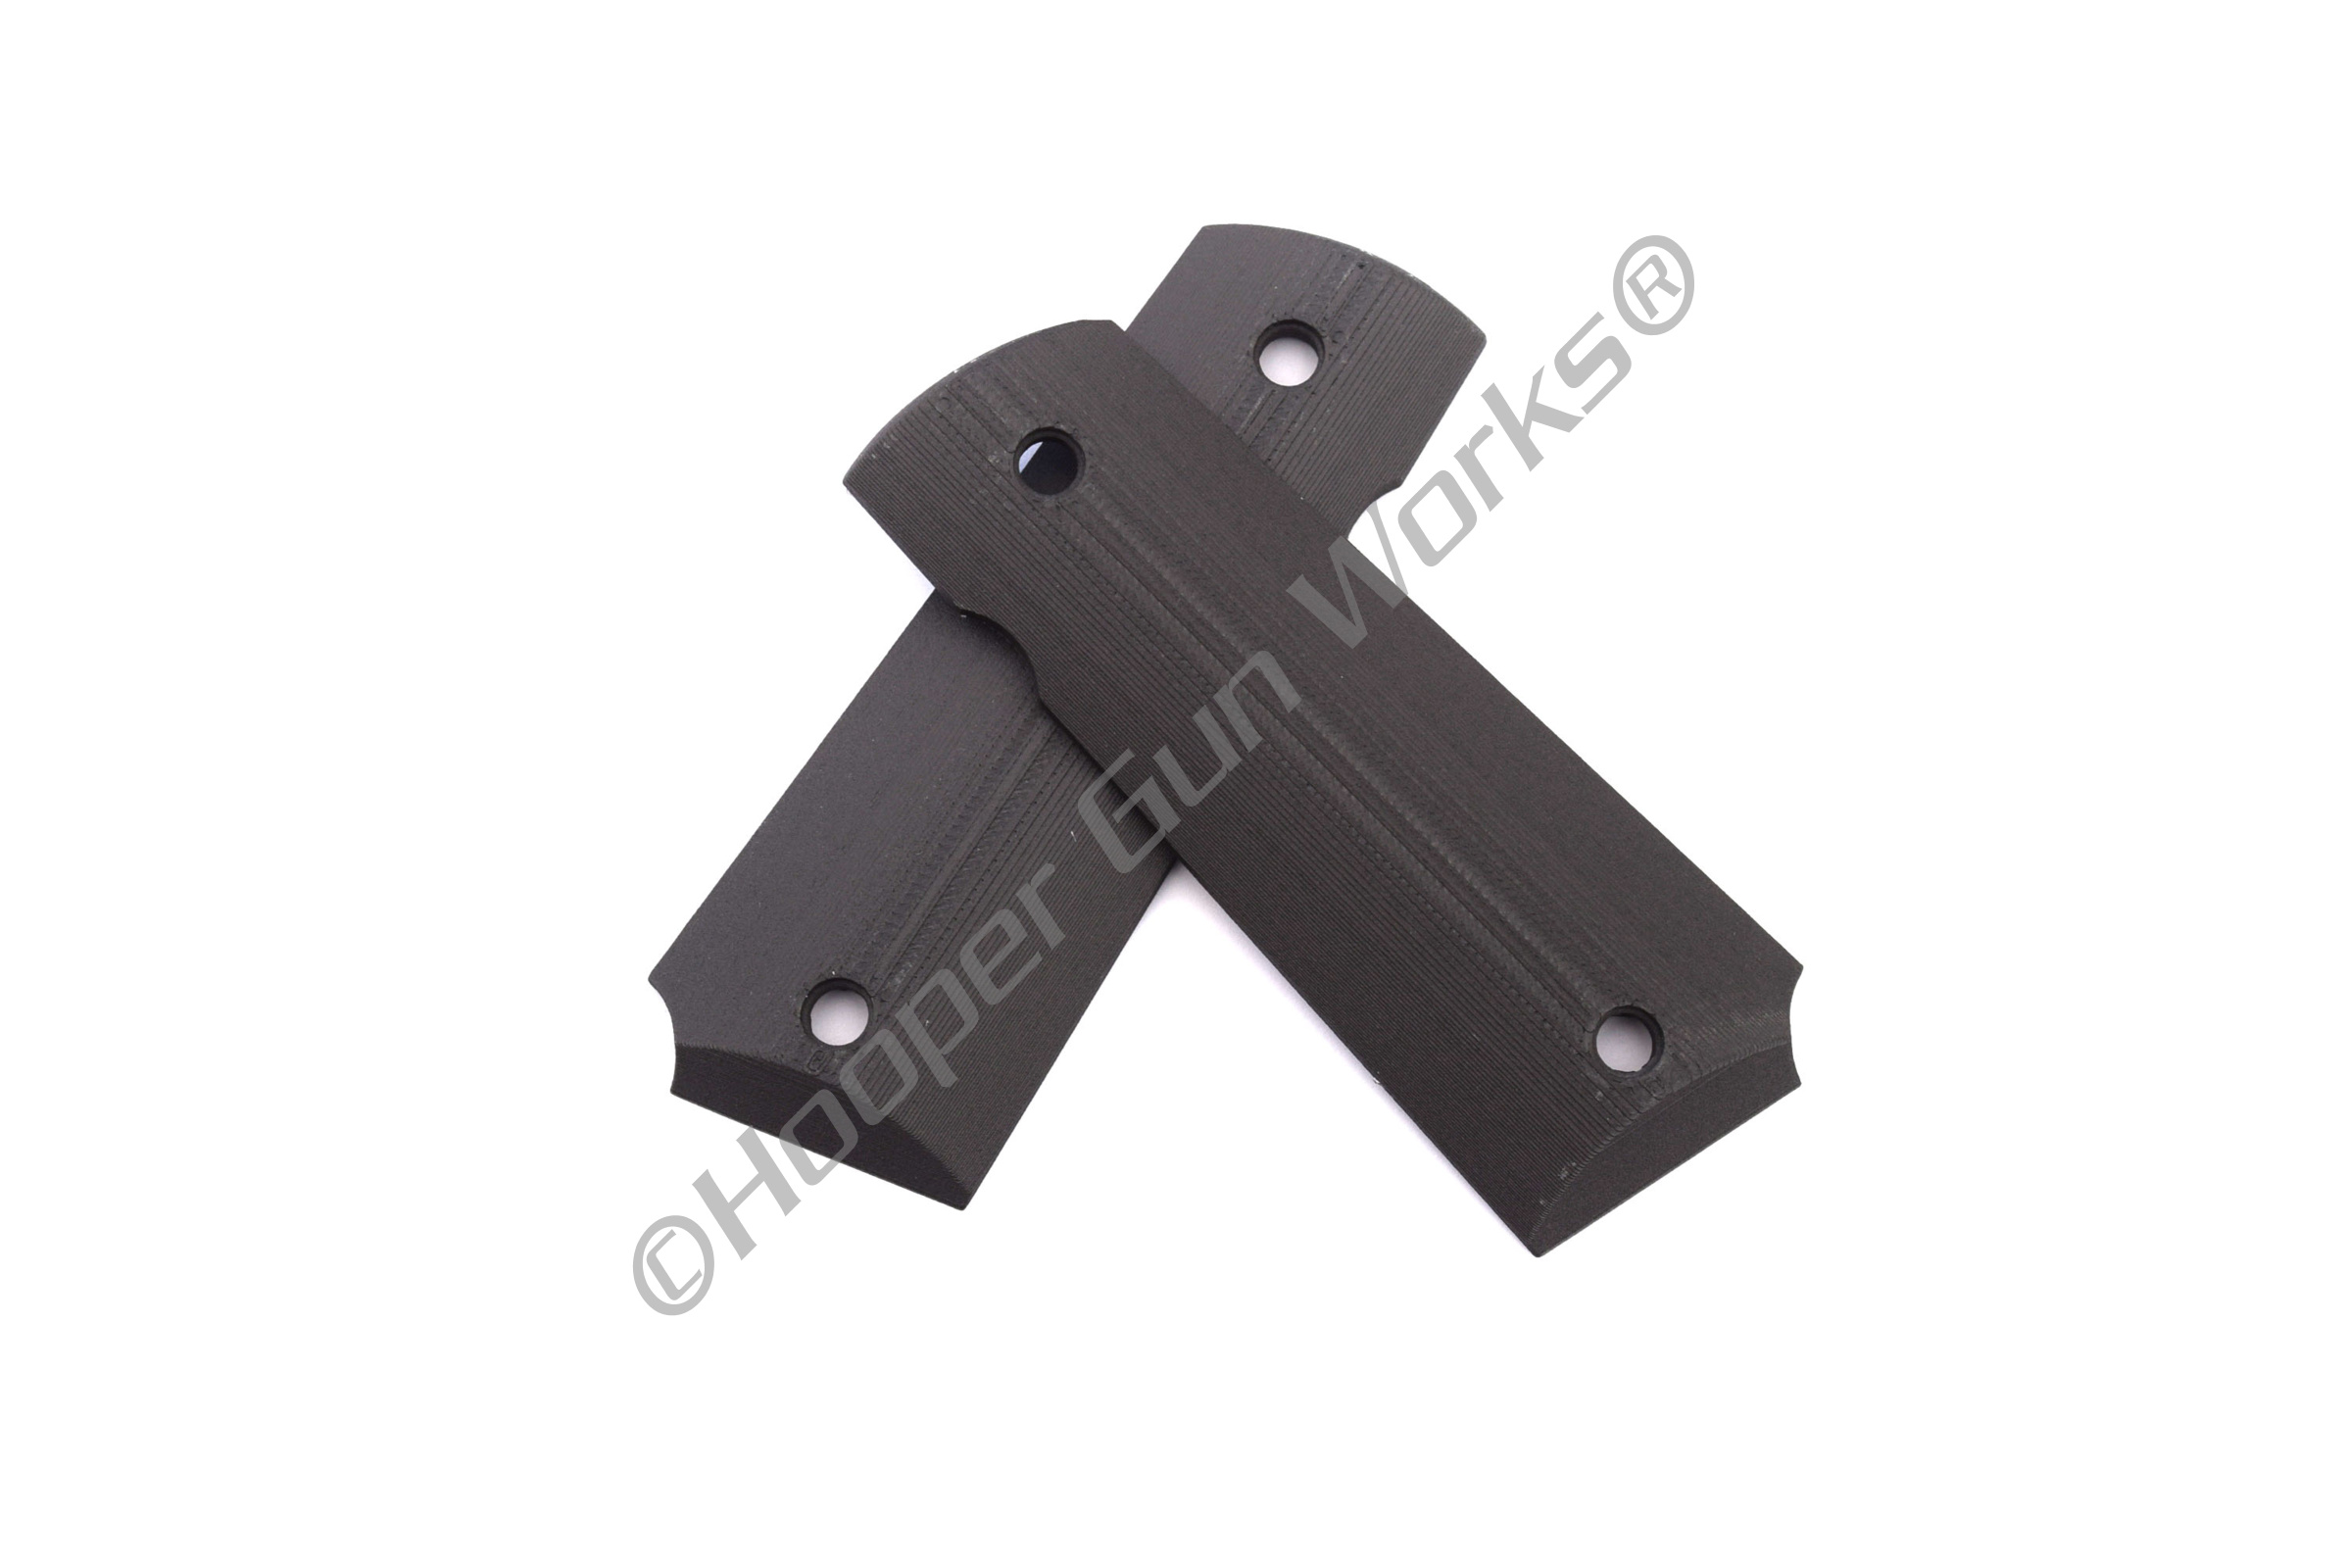
  1. Material: Grips can be made from various materials, including wood, polymer, rubber, and G10 (a composite material). Each material has its own characteristics. Wood grips offer a classic look and feel, while polymer and rubber grips provide better recoil absorption and a more ergonomic grip. G10 grips are durable and offer excellent texture and grip.
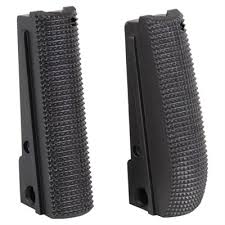
  2. Texture: Consider the grip texture that suits your shooting style and hand size. Grips can have smooth surfaces, checkering, stippling, or aggressive textures. Determine which texture provides the best grip for your needs and shooting conditions.
  3. Size and shape: Grips come in different sizes and shapes to accommodate various hand sizes and shooting preferences. Choose a grip size that allows you to comfortably reach and manipulate the controls of the 1911 while providing a secure hold.
  4. Ergonomics: Consider the ergonomics of the grip. Some grips have finger grooves or palm swells to enhance your grip and control over the firearm. Pay attention to how the grip feels in your hand and whether it aligns with your shooting technique.
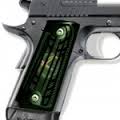
  5. Aesthetics: Grips can significantly impact the overall appearance of your 1911. Choose a style and design that appeals to your taste, whether it’s a traditional wooden look, a tactical design, or a custom pattern.
  6. Fit: Ensure that the grips you select are compatible with your specific 1911 model. 1911 grips can have slight variations in size and screw hole placement, so double-check the compatibility to avoid any issues.
  7. Reviews and recommendations: Read reviews from other firearm enthusiasts and consult online forums to gather information about popular grip choices. Consider the experiences and opinions of others to help inform your decision-making process.

Ultimately, the best 1911 grips will be those that provide a comfortable, secure, and ergonomic hold on your firearm while meeting your aesthetic preferences. Take the time to handle different grips and consider your shooting needs to make an informed choice.

Check out 1911 grips at Hooper Gun Works!

Check out 1911 grips on Amazon.

Check out 1911 grips on eBay.

Disclosure: This post contains affiliate links to external websites. If you click through and make a purchase, we may earn a commission at no additional cost to you.

Posted on Leave a comment

1911 – Changing Your Caliber

You’ve already got a great 1911 but you want to shoot a different caliber out of it. No worries, we’ve got the master list here of what you need to change out. For each caliber change you’ll need to swap out the barrel, recoil spring, magazine, and ammo. Outside of those core caliber specific parts, it depends on what you’re starting with.

Have .45 ACP – Switch to Anything else

.45 ACP doesn’t play well with others so changing from, or to, .45 ACP requires all the caliber specific changes.

  • Slide
  • Barrel
  • Recoil Spring
  • Firing Pin
  • Firing Pin Stop
  • Ejector
  • Extractor
  • Slide Stop
  • Magazine
  • Ammo

Have 9mm – Switch to .38 Super

This is an easy one. 9mm and .38 Super are sister calibers in this case. Your list is very short…

  • Barrel
  • Recoil Spring
  • Magazine
  • Ammo

Have 10mm – Switch to 40S&W

Again, sister calibers. 10mm and 40S&W have an equally short list.

  • Barrel
  • Recoil Spring
  • Magazine
  • Ammo

Have 9mm (or .38S) – Switch to 10mm (or 40S&W)

This is the medium list. These calibers all share a bit more parts but not quite as many as going between sister calibers.

  • Slide
  • Barrel
  • Recoil Spring
  • Magazine
  • Ammo
  • Extractor – this one is not true for all cases. Many extractors work with 9mm, .38S, 10mm and 40S&W while some manufacturers will have a 10mm/40S&W specific extractor.

As you can see, changing out your caliber isn’t such a daunting task. For most calibers, it’s a minor operation. If you really like to tinker around, there do exist universal ejectors that work with .45 and all others. Outside of that, for 9mm, .38S, 10mm, and 40S&W… you can easily create your top ends of choice and in a way, hot swap your upper. between the various calibers.

What to look out for…

Ramps

Barrels come in 3 varieties for their ramp.

  1. Non-ramped (unramped)
  2. Clark/Para/Lissner ramp – Rock Island Armory uses this type
  3. Wilson/Nowlan ramp

When changing out your caliber, make sure the the ramp type remains the same or it won’t work for your frame!

Bull vs. Bushed

Barrels also come in 2 varieties for their front end. They can be bull barrels or bushed barrels. Bull barrels use a reverse plug instead of a standard guide rod plug and barrel bushing. If you are swapping between bull and bushed, make sure that you also change out the reverse plug with the guide rod plug and barrel bushing.

Also note that if you’re using a bull barrel and a reverse plug, you should use a guide rod that either has a take-down hole in it, or is a 2 piece guide rod.

Shoot safe, shoot straight! – HGW

Posted on Leave a comment

Variable Recoil Springs

What is the difference between conventional and variable recoil springs?

With a conventional spring, all coils are spaced equally apart, except for the closed ends. In a variable recoil spring the space varies between coils with less space at one end and more space between coils at the other end.

The way the two springs store energy is also different. For example, if a conventional recoil spring is compressed 1/2″, it might store 1 pound of energy. For every additional 1/2″ this spring is compressed it would then store 1 additional pound of energy. When a variable recoil spring is compressed 1/2″, it might store 1/4 pound of energy. The next half inch of compression might store 1/2 pound, the next half inch might store 3/4 pound and so on. In other words, a conventional spring stores energy on a straight line and a variable spring stores energy on an exponential curve. If both springs are rated at 16 pounds, they will both store 16 pounds when compressed to the same working length, but the way they get to 16 pounds is different.

Should I use a conventional or variable spring?

The choice is often very subjective. Conventional recoil springs are particularly beneficial when shooting heavier loads where keeping the slide closed as long as possible is desired. Variable recoil springs reduce the battery load values with increasingly greater recoil load values. This results in easier unlocking, improved recoil energy storage, dampening, feeding, breaching and lockup. Variable recoil springs are particularly beneficial with compensated pistols and when using light target loads where less recoil energy is available. The “correct type” of recoil spring is best determined through experimentation and your own personal preference.

Check out all of our variable recoil springs here

Posted on Leave a comment

Chrome Silicone Springs

The 3 most popular 1911 recoil springs are available in chrome silicone material. While chrome silicone is an excellent material, it is a softer material and does not offer the tensile strength of Wolff’sĀ proprietary HTCS spring material (the material from which most of theirĀ springs are produced from). We offer these springs due to customer requests.

Chrome silicone steel recoil springs resist taking a set even after thousands of compression cycles for improved performance and reliability. Available in three power ratings, so you can match spring weight to your specific gun and the type of load you shoot. For .45 ACP, use Reduced Power 14 lb. spring for target loads with lighter than standard bullets or powder charges, Factory Standard 16 lb. spring for all-around reliability with the widest range of ammo, and Extra Power 18Ā½ lb. spring for smoother cycling and less slide battering with heavy loads.

Check out all our Chrome Silicon recoil springs here.

Posted on Leave a comment

Will it fit flush?

Many of our customers like to carry with their firearm and are specifically looking for a flush fit magazine. We’ve listed some magazines below that have no base pads, bumper pads, or extended bases. These magazines have either a welded or removable flush fit base. Please note that this is not an all inclusive list. There are lots of flush fit magazines out there that may not be listed here. We’ve started the list with magazines we carry and will continue to add additional magazines over time.

1911

Government / Full Size or Commander / Mid Size

  • Metalform 9mm 9rd Blue
  • Metalform 9mm 9rd Stainless
  • ACT-MAG .45ACP 7rd Stainless
  • Check-MateĀ CM45-7-S
  • Check-MateĀ CM45-7-B
  • Check-MateĀ CM45-7-S-H
  • Check-MateĀ CM45-7-B-H
  • Check-MateĀ CM45-7-S-GI
  • Check-MateĀ CM45-7-B-GI
  • Check-MateĀ CM45-7-S-CMF
  • Check-MateĀ CM45-7-B-CMF
  • Check-MateĀ CM45-7-B-H-CMF
  • Check-MateĀ CM45-7-S-H-CMF
  • Check-MateĀ CM45-8-B
  • Check-MateĀ CM45-8-S
  • Check-MateĀ CM45-8-B-H
  • Check-MateĀ CM45-8-S-H
  • Check-MateĀ CM9MM-9-S
  • Check-MateĀ CM10MM-8-S
  • Check-MateĀ CM38-S-9-S
  • Check-MateĀ CM40-9-S
  • Mec-Gar 1911 9mm 9 round Magazine Full Size Blue
  • Mec-Gar 1911 38 Super 9 round Magazine Full Size Blue

Compact / Officer

  • Metalform 9mm 8rd Blue
  • Metalform 9mm 8rd Stainless
  • ACT-MAG .45ACP 6rd Stainless
  • Check-MateĀ CM45-6C-B-H
  • Check-MateĀ CM45-6C-S-H
  • Check-MateĀ CM45-7C-B
  • Check-MateĀ CM45-7C-B-H
  • Check-MateĀ CM45-7C-S-H
  • Check-MateĀ CM9MM-7C-S
  • Mec-Gar 1911 40 S&W 7 round Magazine Compact / Officer Blue

Sub Compact

  • Check-MateĀ CM45-6SC-S-H

NON 1911

  • Check-MateĀ CM40-S-10 (Beretta 96)
  • Check-MateĀ CM9MM-B-10 (Beretta 92FS)
  • Mec-Gar Beretta 21 .25ACP 9rd High Cap Blue Magazine
Posted on Leave a comment

1911 Compact Gun Grip Extension

Did you buy a compact 1911 only to find out that you just donā€™t have enough space to properly grip the gun and control theĀ recoil? Well if you did, there are some solutions out there for you. Iā€™ll describe a few for you here.

  1. Buy a bigger gun. I love this one because really, any one who loves guns would love an excuse to buy another one. And bigger is always better right? Well not always which is probably why you bought a compact. However, unless it is vital for you to have a shorter barrel compact gun, you may be able to get a bigger gun. Maybe not a full size 5ā€³ but at least a midsize 4.25ā€³Ā barrel. If youā€™re planning on using this gun for a carry gun and are worried about concealment, you may want to entertain another option.
  2. Extend the grip, not the mag. This is an in-between option. It allows you to keep your compact 1911 and use the original compact mags yet still extend your grip. Pearce Grips make some nice grip extenders for double stack guns that will increase the grip length in the front (where you want it), and not increase the length at the back of the gun. Unfortunately, at the time of this writing, they only work for the double stack guns. Iā€™ve called them up and hopefully Mr. Pearce will hear our plea to make this for the fine single stack gun owners because itā€™s a great product.
    Pearce Grip
  3. Extend the mag, extend the grip. This is the most versatile option. Yes, you need to buy new mags but if youā€™re a proper gun owner, you likely own more than one. You may also have mags in the same callibur as your compact but in a full size. If so, this is an affordable option too. So for this option, you put a longer mag in your compact gun and buy a grip extender to go on your mag. Technically you donā€™t have to but your grip will be crazy off if you donā€™t cover the bare mag sticking out the bottom of your gun. Anyway, get yourself a grip extender and put in on your longer mag, then you get an extra round and a better grip. Grip extenders come in different forms some of which Iā€™ll describe briefly. Both types are made to work with the base of the gun as that is pretty much standard. What isnā€™t standard is what the base of the mag looks like. Some are bare flat metal while otherā€™s provide more of a pad and come in even more different styles.
    1. X-Grip ā€“ This grip is a two piece polymer grip extender that encapsulates the base of the mag. They come in a few versions and may not work on all brands of magazines.
      X-Grip
    2. Collar ā€“ This grip slides down your magazine and stays in place with a set screw. Again it may not work with all brands of magazines. A&G is one of the manufactures of this grip extension type.
      Grip Extender
  4. Extend the mag with a built in grip. Not many mags offer this but I know that Willson Combat offers a 9mm 10 round mag with a low profile base plate that wraps up the front of the mag to where it meets the base of the gun, thus extending your grip. If youā€™re not keen on having 10 rounds in a gun that is supposed to have 8 (in the case of the 9mm compact), opt for choice #3.
    Wilson Combat 10rd 9mm extension

No matter your reason for buying a compact gun, if youā€™re going to extend your grip with a larger than stock capacity mag, make sure that the new capacity mag is legal in your state.
As always, follow all local, state, and federal laws regarding firearms. Keep your guns locked up securely when not in use and be a safe, knowledgeable shooter.

Posted on Leave a comment

Rifle Recoil ā€“ How to Protect Your Shoulder

After our recent family trip to the range, each of us responded to the recoil from the rifle differently. Both girls shot the same rifles (so did the guys), and only one girl ended up with broken blood vessels from the recoil of the gun. So, to help reduce the chances of this on the next trip, as well as the bruising and soreness from a full day of shooting, weā€™ll look into ways to reduce the recoil of the rifle as well as how to reduce the amount felt by the shooter.

Reducing Recoil

Below are some things to do to your rifle or to keep in mind when buying a new rifle to reduce the amount of recoil produced by the gun:

  • Wood stock ā€“ Wood stocks will absorb more recoil than synthetic stocks.
  • Heavier guns ā€“ I love my Kimber handgun for lightweight carry but the aluminum frame kicks my hand much more than the steel frame guns I shoot. This same principle applies to rifles. The lightweight ones will be nice and easy to carry around but youā€™ll get more recoil from them so stick to the standard weight guns.
  • Lighter ammo ā€“ A bullet with more grains will provide more recoil. Hot or magnum loads will kick more than standard loads.
  • Recoil pads ā€“ Most rifles will come with a recoil pad built in and most of them can have this switched out for a more efficient recoil pad. A few manufacturers also make recoil pads that slip over your existing stock (instead of the install type).
  • Muzzle break ā€“ Adding a muzzle break to your rifle can reduce the recoil up to 20% in some cases. **They really increase the amount of muzzle blast through and can cause permanent hearing loss even with normal ear protection. They are also outlawed in some areas**
  • Anti-recoil tube ā€“ These are typically installed in the buttstock of a rifle and basically slow down the recoil. The gun still has the same amount of recoil but you spread out the effect of it. They are often mercury filled or weight and spring loaded.

Reducing Felt Recoil

Below are a few ways to reduce the amount of recoil that the shooter feels:

  • Wear a padded jacket! This was the biggest difference between the two girls that shot. One wore a nicely padded jacket and the other wore a thin jacket. Some shooting specific jackets will have a shoulder pad in it for this purpose.
  • Pull the rifle firmly against your shoulder when shooting. If you donā€™t keep it tucked into your shoulder properly, the gun will essentially get a running start at your shoulder and if itā€™s a rifle with a lot of kick, you could even break your collar bone in addition to a nasty bruise.
  • Shoot less. Ok, this may not be what you want to hear but hang on a second. We can all shoot the plinker Ruger 10/22 almost all day long without batting an eye clearing through tons of ammo. If you do that with a .375 or anything stronger, you probably willĀ not be able to move your shoulder much the next day. So my point is, the more powerful the gun, the less rounds you should go through. One tip is to alternate which gun you shoot at the range. Shoot the big guy, then work on something with less kick for a bit before going back to the big guy again.
  • Shoot more. Have I confused you now? Well, what I mean by shoot more, is thisā€¦ A first time shooter will ā€œfeelā€ the recoil more than a seasoned shooter. The more often you shoot, the more you will get used to experiencing recoil overall. Donā€™t take this to mean go out and shoot the big guns all day every day to toughen yourself up. But to take it like any sportsman would. Any pro ball player (in a team sport, weā€™re not talking golf) can get hit with the ball and not be fazed near as much as a rookie just picking up the sport. So go out and practice!

As far as broken blood vessels goes, some people are more prone to them than others. People with fair skin, dry or dehydrated skin, or sensitive skin, have thinner skin and are more prone to broken blood vessels due to trauma (like rifle shooting). Luckily, broken blood vessels is largely cosmetic and usually heals on its own in a couple weeks without treatment.

I hope you enjoyed our talk on rifle recoil. Stay tuned for more great gun guides, tips, and news.

Posted on Leave a comment

Difficulty When Inserting 1911 Mags

Hooper Gun Works got a call recently from a customer who was having difficulty installing standard 1911 45 ACP Mags into the Rock Island Armory 1911. Ā There are a couple of things that can cause this, over-tightened grip screws being the most common. Ā Another cause lies within how the mag release button (or mag catch if you prefer) is cut from the factory. Ā Sometimes the fit may be so tight that the magazine cannot push aside the inner part of the catch to engage with the slot in the magazine body. Ā There is also a little bit of variance from magazine to magazine and between manufacturers that can make this inconsistent. Ā Here is a test to know if you are having this type of problem

  1. Ensure that the chamber is clear and that the magazine is unloaded.
  2. Insert your magazine into the frame until the until the point where the mag will insert no further.
  3. Push in the mag release button as if you were dropping a mag.
  4. At this point the magazine should be able to be inserted fully while holding the mag release button.
  5. Release the mag release button.
  6. The magazine should be fully seated and not able to be removed without pressing the mag release.
  7. Press the mag release button. Ā Since this issue has been confirmed, it will be difficult to press the button, but the mag will still drop.

How to fix: Ā There is too much metal on the part of the mag release button that engages the mag body. Ā A gunsmith can carefully remove the right amount of metal and create the desired shape to engage with your magazines. Ā It does not take very much removal. Ā It is also a good opportunity to change out to a machined tool steel mag release button, if you donā€™t already have one. Ā The gunsmith charge will be about the same minimum $50 either way, and you can provide the new part.

Posted on Leave a comment

The CheckMate 1911 Magazine That is Right for Your Shooting

CheckMate is a fine manufacturer of 1911, M1A, Desert Eagle, and Beretta magazines. Ā For their 1911 magazines, three type of feedlip designs are offered: Ā Wadcutter, Hybrid, and GI. Ā There is much history behind these designations. Ā The GI design dates back to the origins of the 1911. Ā The Wadcutter came later, followed by the Hybrid which is more of a modern creature. Ā Most mags these days employ a hybrid design. Ā Strong chances your OEM mag that came with your 1911 did as well. Ā Here is a detailed picture (courtesy of CheckMate) showing the three types.

Check-Mate FeedlipsCM45-8-B Magazines

Which feedlip type to use really comes down to total round length. Ā The original spec for a 230 grain ā€œballā€ ammo was 1.26 inches overall length. Ā This is what the GI feedlip was designed around. Ā If all you shoot is traditional ball ammo, this is the feedlip for you as you will experience the highest level of reliable feeding. Ā However there is a tradeoff. Ā Hollow point (and wadcutter) rounds may be as short as 1.20 inches, and that difference is notable. Ā Load a GI mag full of these shorter rounds, and the reliability level decreases. Ā The degree of which varies from gun to gun. Ā What happens is that in that 0.06 inch difference, the ball round had hit the feedramp, but the shorter round can get pushed upwards and cause a jam. Ā It doesnā€™t take much really.

The Wadcutter feedlip solves the problem for shorter rounds, like the wadcutter, which gained popularity in competitive shooting. Ā Use this feedlip style for the shorter rounds. Ā The tradeoff here is that the feeding is the best for shorter rounds, but traditional ball ammo loses a true controlled feed in this feedlip type.

The hybrid feedlip is a combination of both designs and generally works well for all. Ā If you find yourself shooting a mix of ammo and want the greatest selection of caliber options, and capacity, this is the preferred option.

For a 1911 there are many items that contribute to proper feeding. The above assumes a properly functioning 1911 of reputable make to begin with, and one that is shooting standard pressure ammo at bullet weight between 180 and 230 grains, with a recoil spring of standard rating to +1 strong as described by the extra power Wolff springs. Ā With this in mind, it is also necessary to have extra consideration when using the fantastic 10 mm caliber. Ā The loads vary greatly for this round, and a 10 mm 1911 needs to be designed as a system for handling the 10 mm cartridge.

Posted on Leave a comment

1911 Series 70 vs 80

While we already know that not all 1911s are the same, there are a few differences that stand out. The biggest questions come in the form of ā€œWhat is the difference between series 70 and series 80?ā€

Barrel Bushing
Series 80 on left, Series 70 Collet on right

First a small bit of history. While the 1911 has been around for ages and was officially adopted by the US military in 1911, it stayed pretty much unchanged until the 70s. In the 70ā€™s Colt got rid of the lanyard loop on the main spring housing and increased the size of the shelf for the thumb safety. The solid barrel bushing was changed to a collet bushing. Guns made before 1970 would be calledĀ Pre-Series 70.

Barrel Bushings Installed
Series 80 on left, Series 70 Collet on right

In 1983 Colt introduced the Series 80. The collet bushing was replaced with the solid bushing and the phase out was completed around 1988. The biggest change in the series 80 is the firing pin block. Some claim that this addition makes for a heavier trigger pull. Since trigger pull can be adjusted by any well trained gunsmith, this shouldnā€™t sway anyoneā€™s decision between series 70 or 80. Not all manufactures of series 80 clones use the trigger to release the firing pin block. Some use the grip safety. When itā€™s the grip safety it is often called aĀ Swartz Safety. Smith & Wesson as well as Kimber both use this Swartz Safety while Para Ordnance uses the Colt series 80 system with the trigger releasing the firing pin block. Colt did use a Swartz Safety in the 30ā€™s but quickly changed away from it making it difficult to find Colts equipped with the Swartz Safety as few were made.Series 70 on left, Series 80 on right

Series 70 on left, Series 80 on right

One of the other changes was in the hammer. The series 70 hammer had a half cock notch or hook whereas the series 80 has a shelf. This change was to prevent the eventual wear and breakage of the hook allowing the hammer to fall. Here at HGW, we still believe that the series 70 style hammer is best as it captivates the sear rather than allowing it to possibly slide off.Flat Series 80 style on left, arched Series 70 style on right

Flat Series 80 style on left, arched Series 70 style on right

The mainspring housing was also changed out. In the series 70 it was arched and in the series 80 itā€™s flat. Now, this change is really only relevant to the Colt manufactured 1911. Other manufacturers have their own styles of mainspring housing with varying arch and there are plenty of after market mainspring housings in many designs with features such as smooth, serrated, checkeredā€¦ you get the idea.

In addition, there are other changes that Colt made when they changed from the series 70 to 80. These changes are much more minor and not reproduced across the clones as often. Below areĀ a summary of some of the changes.

  • Sights changed from black to 3 dot
  • Trigger changed from short to long
  • Magazine well was beveled in series 80
  • GI style small ejection port changed to lowered ejection port
  • Barrel chamber hood changed from wide GI style to narrow Gold Cup style

Present day you can get reproduction series 70 (without the collet bushing) as well as series 80. Colt fans will argue that series 70 and 80 only apply to Colt and any other manufacture claiming series 80 areĀ really just stating it has a firing pin block and mechanism, Colt clones retain many of the differences that are seen in a series 70 vs 80 Colt 1911. By describing non Colt 1911 handguns as series 70 or 80, it makes it easier to determine parts differences and solve problems.